
Photograph a Game Project at Home
A few deliberate photos preserve the work you put into a build and make it easier to share the finished result.
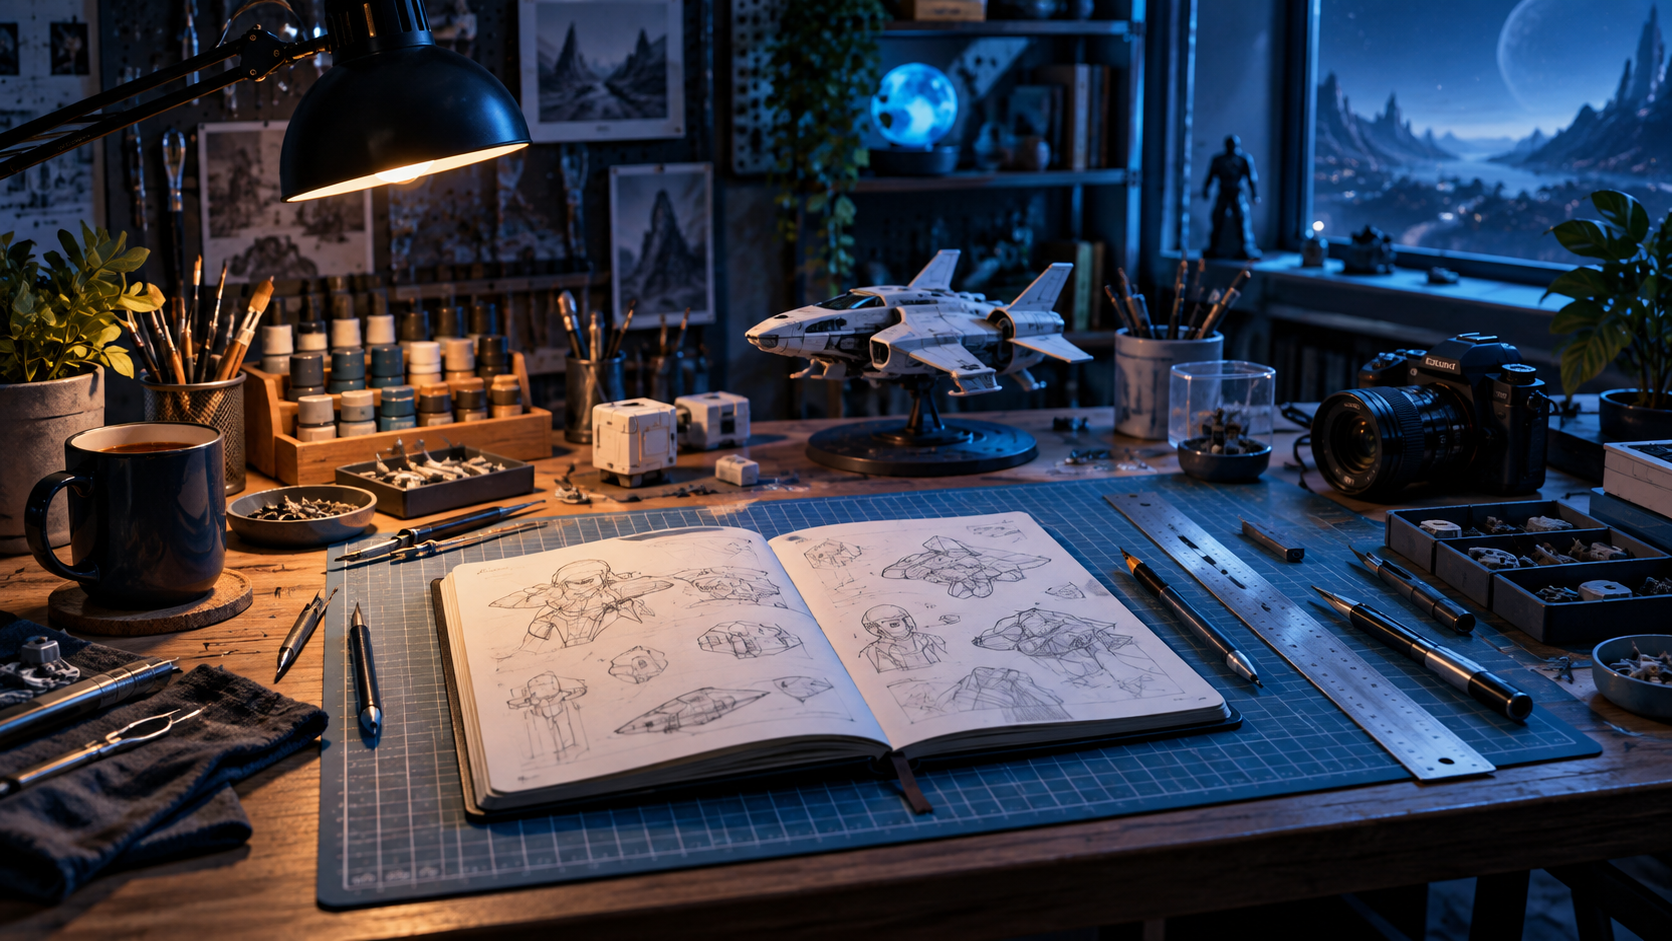
You do not need a studio to document a project well. A clean background, a little attention to light, and a few intentional angles can show far more of the work than a quick snapshot at a busy workbench.
Start with one wide photo that shows the complete object. Then take closer images of the details you worked hardest on: surface texture, paint, joints, a display base, or the way a wearable piece fits.
Use window light or a soft room light when possible. Move the project instead of relying on a direct flash, which can flatten details and create harsh reflections.
Clear the surrounding area before taking the main images. A neutral wall, plain fabric, or simple tabletop makes the subject easier to read.
Keep the first photographs even after you improve your process. They become part of the build story and a useful reminder of what you made.