
Finish 3D Printed Prop Seams Cleanly
Use fit tests, filler, sanding, primer, and patient inspection to make multi-part prints read as one finished object.
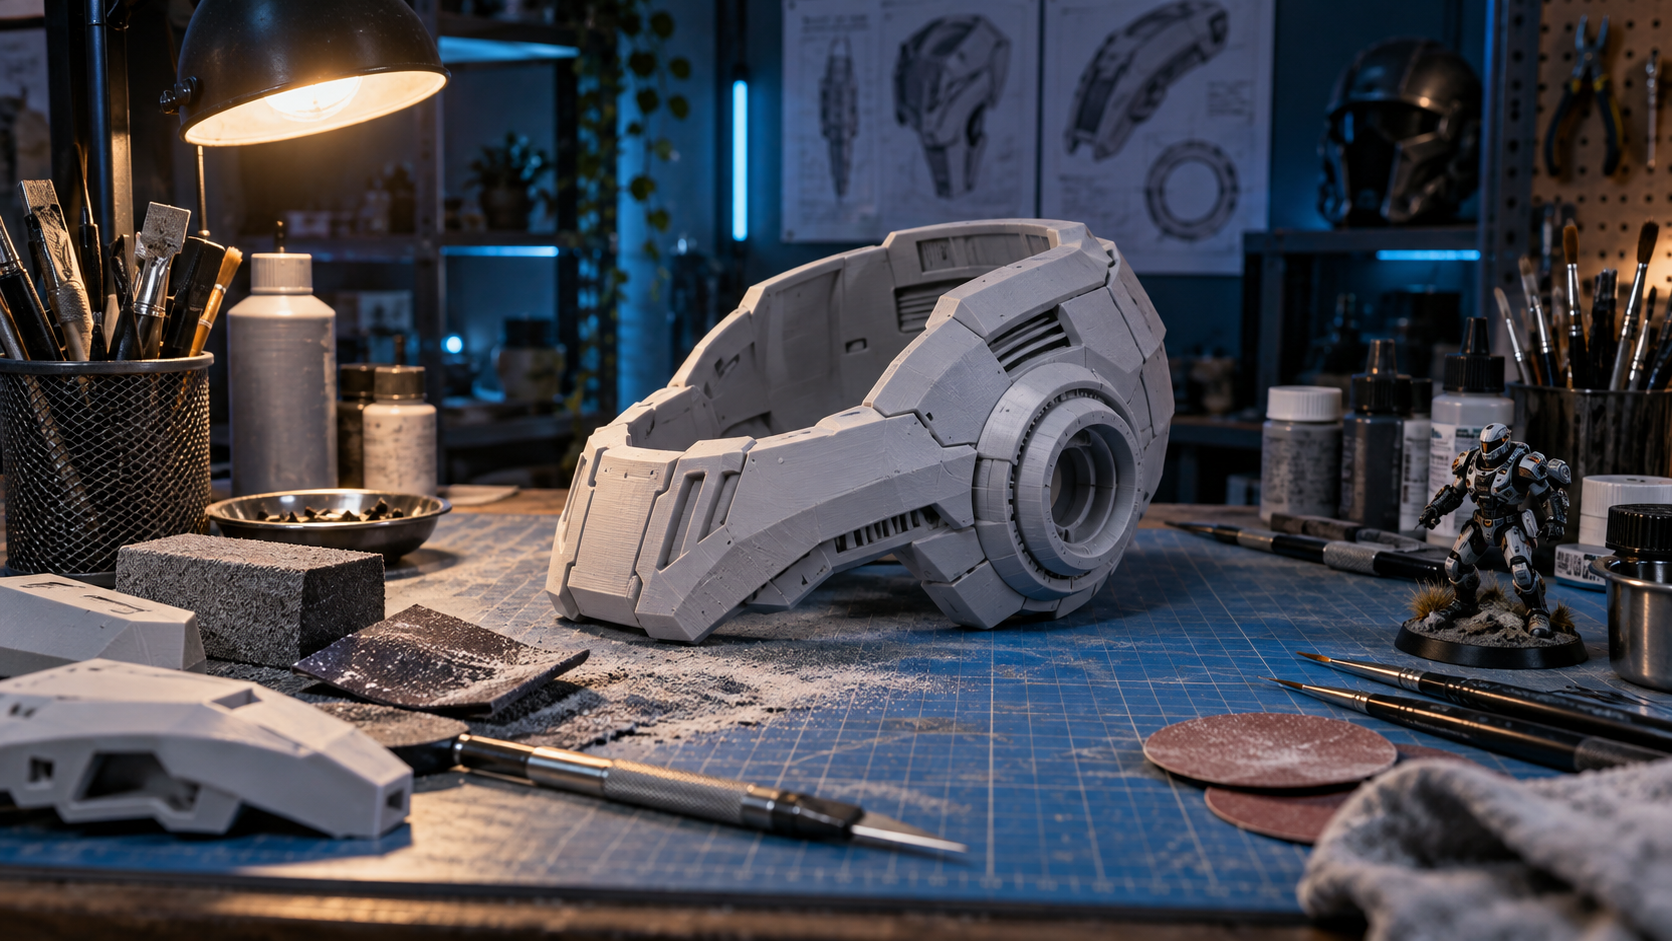
Large props often need to be printed in sections. The seam is not a failure; it is simply a construction detail that needs a clear plan before paint makes it more visible.
Dry-fit every piece first. Check alignment, pin locations, and the edge where the sections meet. Correcting a gap before adhesive cures is much easier than trying to disguise a structural mismatch later.
Use a filler appropriate for the gap and allow it to cure fully. Sand in controlled passes, then apply primer to reveal low spots and rough transitions. Primer is a diagnostic tool as much as a paint layer.
Inspect from normal viewing distance as well as close up. A prop can look imperfect under a work light while reading perfectly on a shelf or in a photograph.
Finish with a protective coat after the final color work. A stable seam gives the entire project a more deliberate, finished presence.