
Build a 3D Printed Samus-Inspired Helmet
Plan scale, fit, print sections, and a clean paint sequence for a wearable or display-ready sci-fi helmet.
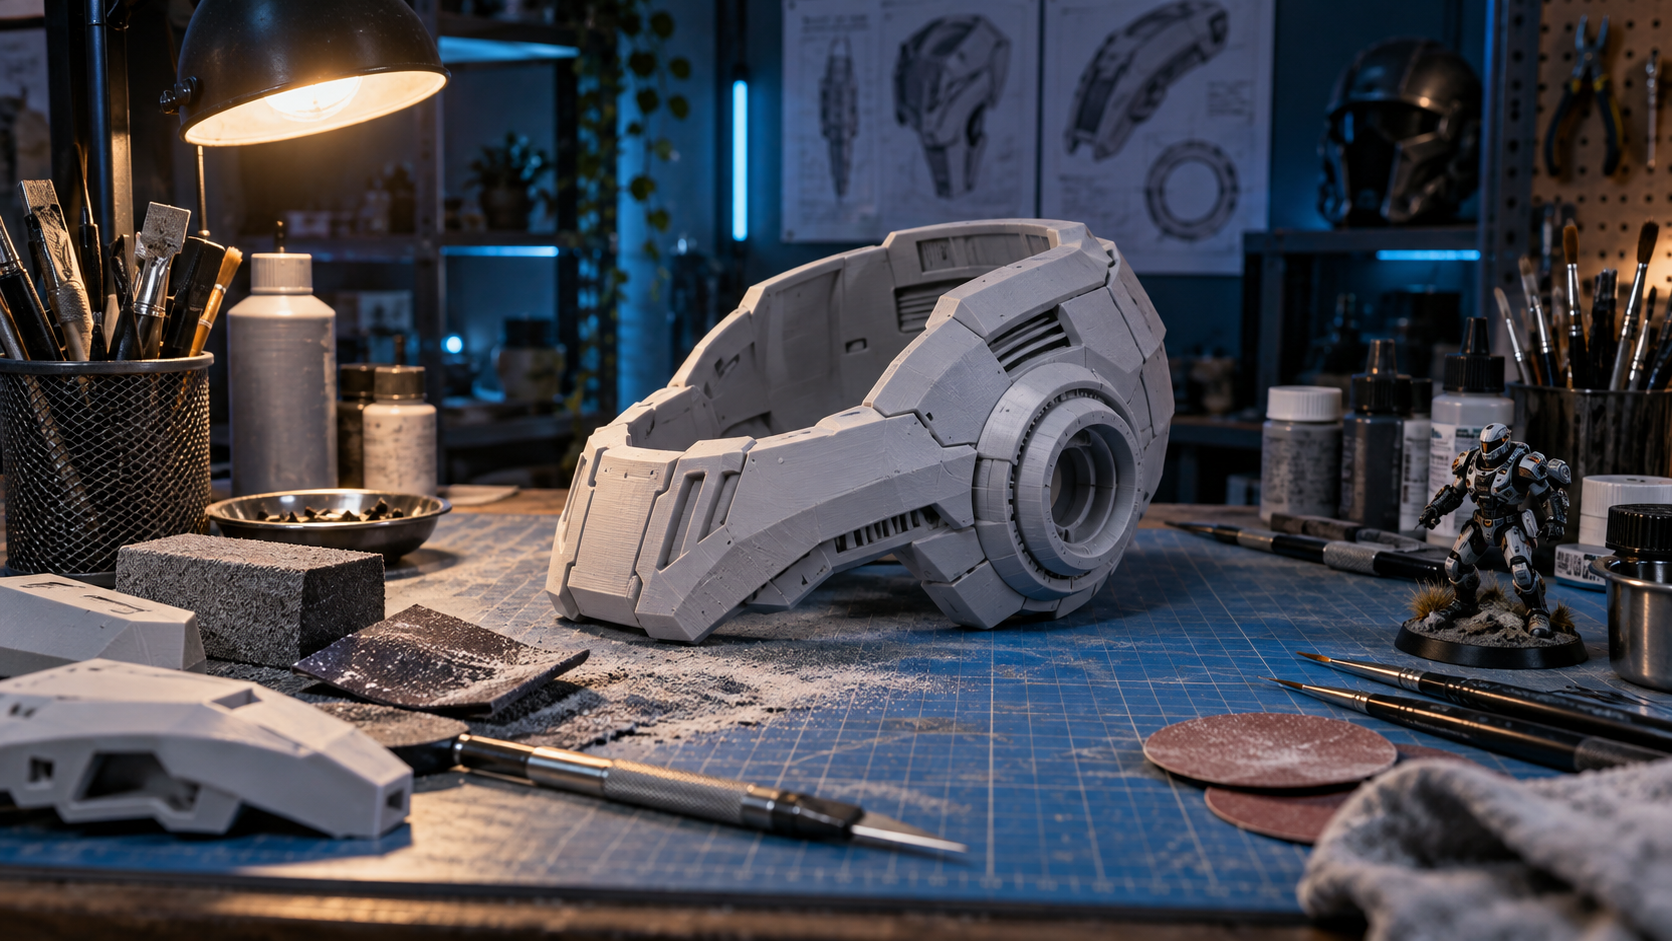
A helmet project begins with the choice between display and wearable use. A display helmet can prioritize silhouette and surface detail, while a wearable version needs room for vision, padding, ventilation, and a way to put it on without damaging the finish.
Print a small scale test first. Check the brow, face opening, and overall width before starting a long full-size print. Small changes are much easier at this stage than after multiple large sections are complete.
Plan seams where the form naturally changes direction or where a panel line can conceal the join. Dry-fit every section before adhesive and use primer to reveal areas that need more sanding or filler.
Build paint in large blocks first, then add darker recesses and controlled highlights. A clean finish will make the helmet feel more convincing than an overloaded detail pass.
Test fit and balance before mounting it on a display stand. The project should look good from a shelf and feel manageable if you choose to wear it.